In everyday life, we can’t perceive gradual transformations like a flower blooming or a building rising from the ground. These changes are too slow to notice. We usually only see the final outcome, not the journey itself. Time-lapse fills that gap.
Instead of filming continuously, the technique captures a single frame at set intervals (such as every minute, hour, or day). Stitching all these frames together creates a fast-paced video that showcases the process.
Filming construction using time-lapse is a complex logistical task that’s best handled by professionals. Here’s a
Step-by-step breakdown:
1. Choosing the Equipment
Amateur time-lapse photography is typically done with DSLR or GoPro cameras. This equipment isn’t suitable for long-term construction projects. These projects require specialized cameras designed to handle unique challenges.
At Timelapse it, we use purpose-built cameras that are weather-resistant, solar-powered to ensure continuous operation, and internet-enabled for real-time monitoring. We also deploy custom enclosures for DSLRs and remote transmission systems for off-site supervision.
Camera selection depends on the project’s duration, location, and client needs.
2. Installing the Cameras On-Site
Unlike security cameras, which focus on identifying people, time-lapse cameras are positioned to capture a wide, panoramic view of the entire site. Elevation is often crucial. Common setups include:
- Mounting cameras on the rooftops of nearby buildings
- Installing masts anchored with concrete blocks
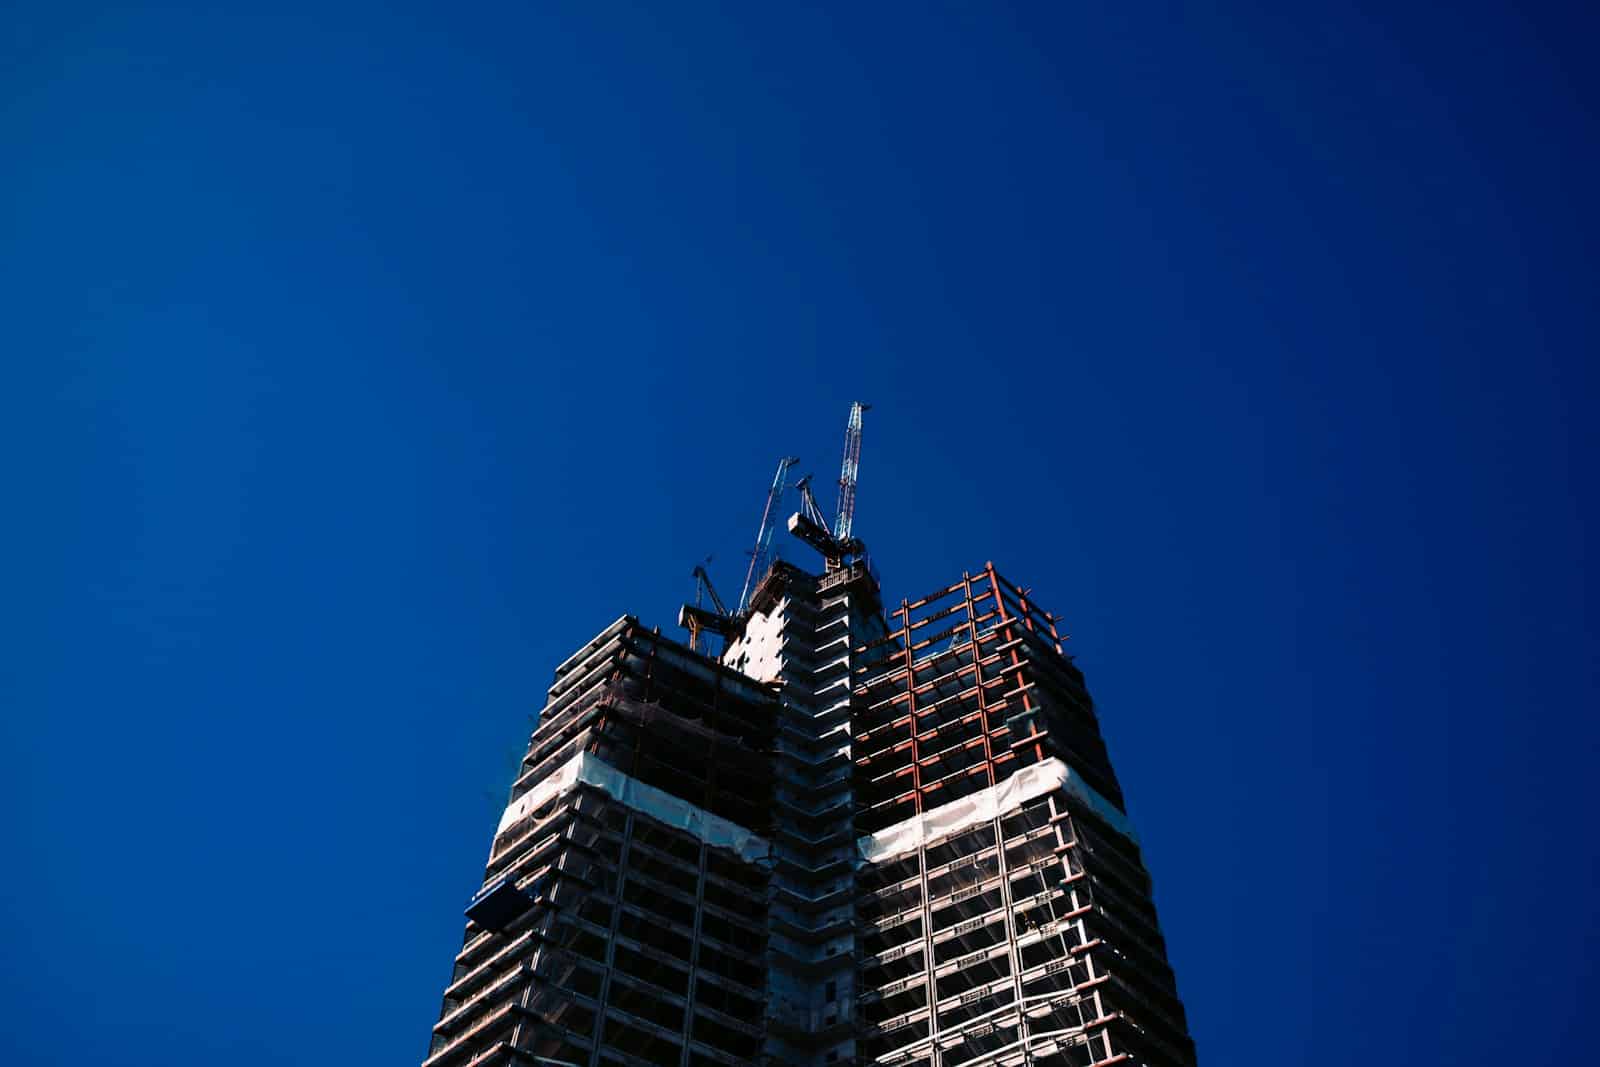
- Attaching to cranes on-site
Throughout the project, camera positions may be adjusted as work progresses.
3. Documenting the Process
Construction time-lapse typically captures one frame every 10 minutes. For long and complex projects, it’s better to collect more footage than needed—you can always trim it later.
This isn’t a “set and forget” process. Continuous monitoring is essential to ensure both image quality and system functionality. A big part of our service is giving clients the ability to view progress in real-time.
4. Editing the Footage
Editing is the most crucial part of the process. Unlike standard video editing, time-lapse editing requires advanced techniques, such as:
- Stabilizing footage for smooth playback
- Adjusting colors and lighting for consistency
- Using AI tools to enhance image quality
Editors also need to understand real estate marketing to deliver:
- High-quality promotional videos for branding and advertising
- Monthly progress videos for client updates
👉 Here’s what you get when professionals handle your time-lapse.
What’s the Difference Between Construction Time-Lapse and Standard Time-Lapse?
Time-lapse has been around since the 19th century and has evolved in two main directions: capturing short processes that take minutes to a day and long-term projects like construction, which span months or even years.
The key differences lie in scale and duration. Short time-lapse videos usually involve small subjects (like the flower blooming example above), while construction time-lapse documents vast spaces over extended periods.
These distinctions require a completely different approach. While a hobbyist can learn basic time-lapse techniques on YouTube, capturing a construction project professionally demands experience, equipment, and planning.